Combining words and pictures 3
No, you aren’t imagining things — that is a 3. Combining words and pictures 1 (which explains how to make text wrap around pictures in a variety of ways) and Combining words and pictures 2 (which explains why pictures sometimes jump around and how to stop them doing so) appear as part of the Word tips and tricks strand of the LibroEditing blog.
Putting your text straight on to the page and then using the different sorts of text wrapping available is the best way of doing things if you have a lot of text and a few pictures. But what if you have more pictures than text? Or want to mix them up a bit more than the basic options allow – for example making sure that some text is on the left of a picture and some on the right? Clever use of section breaks and column layout can do it, but I think this way is much easier.
How do I use a table to arrange text and pictures?
I’m going to use as an example the picture round for a quiz. We’ve too many rows to use the automatic positioning options (even if we don’t want to include a title and instructions) and our little bit of text is very spread out, so to keep it in order using tabs and returns would be a bit tricky. So I’m going to use a table.
Step 1 – Insert the table
I’m going to insert a table after my first couple of lines of typing using the Insert table grid from the Tables group of the Insert ribbon.
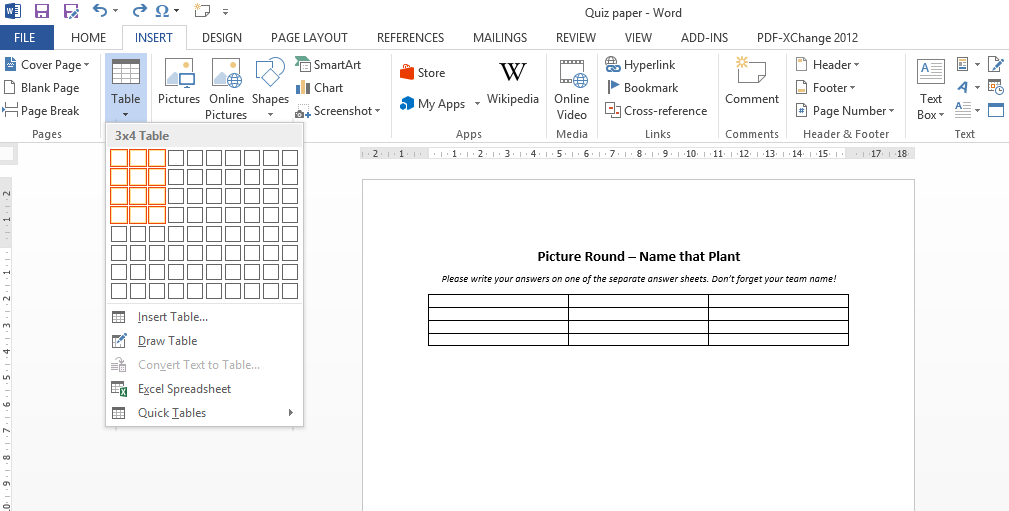
(Incidentally, it’s not usually a good idea to put a table or picture into a document before any text because it can be a bit tricky to get text to go above it later on.) I’m not going to bother getting them to the right size just yet – you’ll see why later.
Step 2 – Add the text
I’m going to put the question numbers in the same cells as the pictures because I want to show you how they work together, so I’m going to put those in next. If you are going to keep your text and pictures in separate boxes, then the order is less important, so I haven’t bothered with the two at the bottom yet.

Step 3 – Insert the pictures
So now, with the cursor after the number in the first cell (box), I insert the picture I want using Insert|Illustration and pick the picture from the web or a file or wherever else I want. Notice that the picture is inserted in line with the text by default.
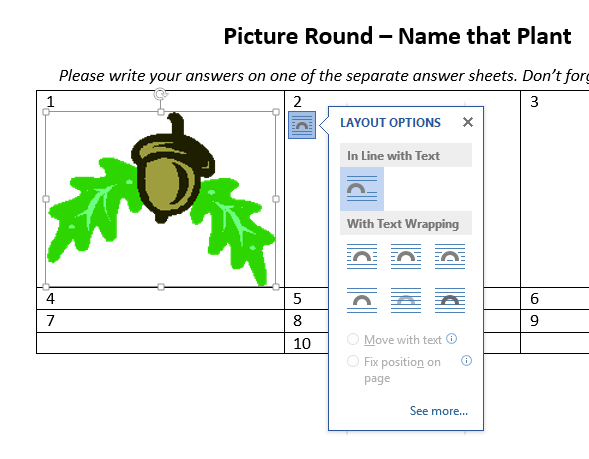
But look what’s happened with the next.

The number’s at the bottom. Why? Remember that when a picture is in line with text, Word treats it as a character. Our first picture was too fat to go on the same line as the ‘1’ so the oak leaf went onto a new line. The poplar, though, is skinny enough to fit, so we need to change the text wrapping to Square (using Picture Tools|Format|Wrap Text or, in Word 2013, the option from the rainbow-on-lined-paper icon’s menu) and then move it to the right place in the cell.
When I try to insert the rose, I run into a different problem. My table goes all silly and I can’t see all of pictures 1 & 3.

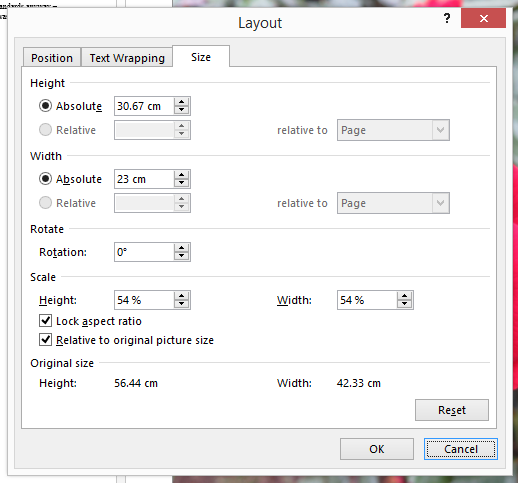
The rose can’t fit in the cell, no matter what adjustments Word makes to the rest of the table. You can see the boundary box extending beyond the table, right to the edge of the page (and beyond). It’s easily fixed though. All we need to do is resize or/and crop the picture. (If you don’t know how to do that, then see my earlier post, How do I change the size of a picture in Word?)
Step 4 – Tidy up
So here it is with the remaining pictures and text added.
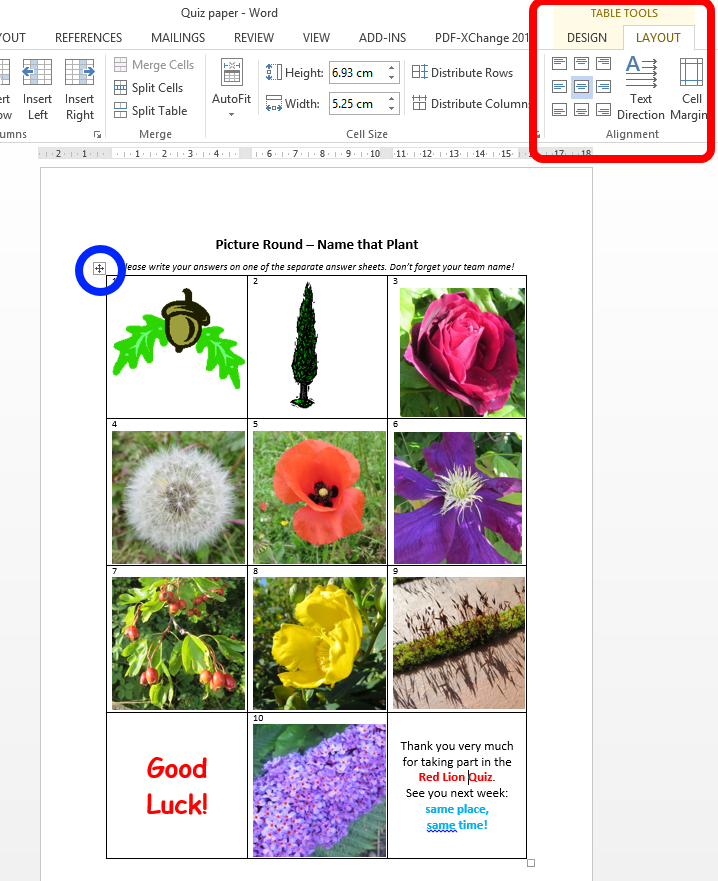
I’ve centred the text at the bottom corners by making sure the cursor is in the text somewhere and choosing the right ‘pattern’ from Table Tools|Layout|Alignment – it’s shaded blue in the red box I’ve drawn at the top of the screen. All we need to do now is get rid of the borders. To do this:
- Select the whole table by clicking on the 4-way-arrow-in-abox icon at the top right of the table (I’ve put a blue circle round it in the image above)
- Go to the other Table Tools tab (Design) and look for the Borders group.
- Click the drop-down beneath Borders and choose No border.

What if it’s still not quite right?
You may find that your pictures aren’t quite as lined up as you would like them to be, especially if you did a lot of resizing or cropping. One way round that is to get them to the right shape and size using image processing software before you put them in – but it’s not always possible or easy to make those decisions in advance. I’ll explain some ways of getting things to line up with each other in my next post on this topic, which will focus on yet another way of getting pictures and text arranged on a page in exactly the way you want.